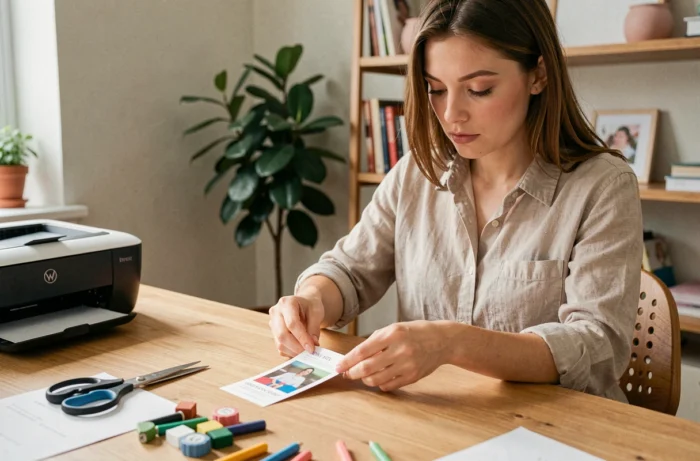
One roommate moves out in September, another moves in in October, and in between, the mail carrier keeps delivering mail addressed to someone who no longer lives there. In a shared apartment, the mailbox presents a practical problem that traditional households don’t face: names change, sometimes several times a year.
Displaying a clear, up-to-date mailbox label is essential to ensure every roommate receives their mail without former occupants’ names lingering on the entrance door.
Removable label or engraved plaque: the right format for a shared apartment with frequent turnover
Most pages about mailbox labels feature engraved PVC or aluminum plaques designed to last for years. This format works well for a couple who own their home. It’s far less suitable for a shared apartment where occupants change every six to eighteen months.
An engraved plaque with three names becomes outdated as soon as one roommate moves out. You then have to order an entirely new plaque, wait for delivery, and install it. In the meantime, the old name remains on display, which can result in mail being delivered to someone who’s no longer there or letters being returned to the sorting center despite having the correct address.
The most suitable alternative is a label printed on paper or removable adhesive film. Create it on a computer, cut it to the standard size (the most common dimensions for a mailbox label holder are around 93 by 25 millimeters), and slide it behind the holder’s clear window.
When someone moves out, remove the label and print a new one in just a few minutes. Creating a printable mailbox label for a shared apartment using a ready-made template makes updates even easier, since the file can be edited and reprinted whenever a roommate changes.
Shared apartments and condominiums: check the rules before customizing
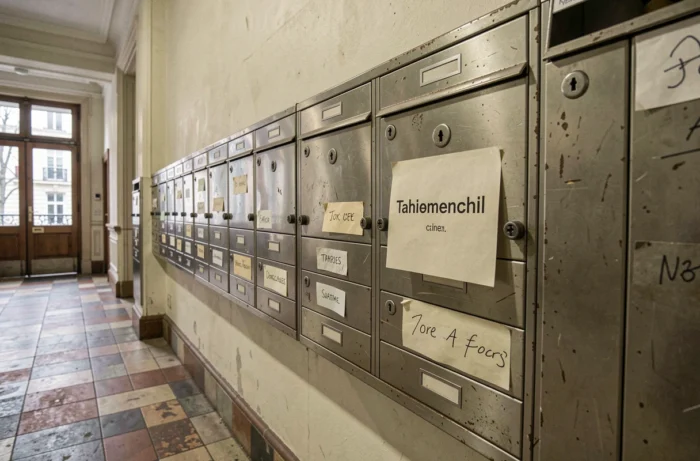
Before sticking anything on the mailbox, check the condominium rules. In apartment buildings, the property manager may require all labels to have a uniform appearance (the same background color, font, and format). Replacing a standardized plaque with a novelty sticker without prior approval could lead to a request to bring it back into compliance at the next general meeting.
The age of the building also matters. In older buildings, not all mailboxes have a clear label holder. If the only option is to stick a label directly onto the metal, it’s best to choose a repositionable film that can be removed without leaving a trace, rather than a permanent sticker that could damage the surface.
Label accessibility and readability
A high-contrast label (dark text on a light background, or vice versa) isn’t just a matter of taste. It helps mail carriers and delivery drivers, as well as visitors with low vision, quickly identify the right name. A decorative design with small, handwritten-style lettering often causes problems in real-world conditions, especially in a poorly lit entrance hall.
- Choose a sans-serif font (such as Arial or Helvetica) in a size large enough to fill most of the label holder’s height.
- Maintain strong contrast between the text and background, avoiding pastel-on-white or light-gray-on-beige combinations.
- Include only essential information: the current roommates’ names and, if needed, the apartment number in the bottom right corner.
Printing mailbox labels: the right method and paper
You don’t need professional equipment. A home inkjet or laser printer is enough, as long as you choose the right material. Standard office paper works if the label is protected behind the clear window of the label holder. For labels stuck directly onto a mailbox (such as an outdoor mailbox at a house), however, moisture-resistant adhesive paper will prevent the ink from running the first time it rains.
Template and layout
The most reliable approach is to create a document in the exact size of the label. Set the page dimensions in a word processor or online tool, add the names, and print. Several free templates are available for common sizes.
- Check the label holder’s dimensions before printing: some communal mailboxes use a format that’s slightly narrower than the standard size.
- Print a test on scrap paper to make sure the text doesn’t overflow and the font remains readable once the label is in place.
- Use a craft knife and ruler rather than scissors to get clean edges that slide easily into the label holder.
- Save the source file in a shared space for all roommates (a drive or shared folder) so the next person to move in can update the label without starting from scratch.
Manage name changes without letting former occupants’ names pile up
The real challenge with shared apartments isn’t creating the label—it’s keeping it up to date. When no one takes responsibility, former roommates’ names can remain on display for months. The mail carrier then continues to deliver their mail, cluttering the mailbox and making mail forwarding more complicated.
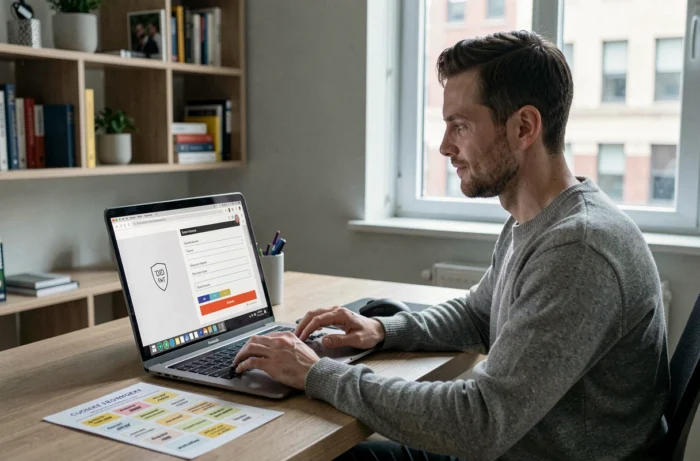
A simple solution is to include changing the mailbox label in the roommate’s move-out process, alongside the property inspection and key return. The departing roommate gives notice, the file is updated with the new arrival’s name, and the new label is printed on move-in day.
For shared apartments with frequent turnover (student housing or short-term mobility leases), a clear-window label holder is the most flexible solution. Slide in a new strip of paper, remove the old one, and the mailbox always reflects who actually lives there. No sticky residue, no layers of stickers that eventually make the names unreadable.
Misdelivered mail in a shared apartment is almost never an address problem. It’s a label that hasn’t kept up with the move-ins and move-outs. Keep an editable template and suitable paper on hand, and make updating the label part of every changeover to solve the problem for good.